






How to Apply DTF Transfers: Step-by-Step Heat Press Guide
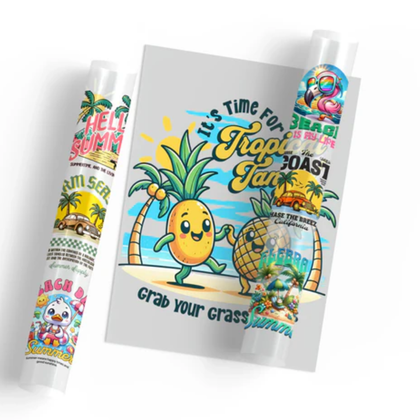
DTF transfers are easy to apply, and you do not need any weeding. All you need is a heat press (a home iron is not recommended because it cannot hold even heat and pressure), your garment and your transfer.
What you need
- A heat press
- Your DTF transfers, cut apart from the sheet
- A garment: cotton, polyester or blends all work
- Optional: parchment paper or a Teflon sheet, and a lint roller
Step 1: Set your heat press
Set the press to 300-320°F (150-160°C) with medium pressure. Every press is a little different, so do a test press on a scrap garment the first time.
Step 2: Prep the garment
Use a lint roller to remove fibers, then pre-press the garment for about 5 seconds. This removes moisture and wrinkles so the transfer bonds evenly.
Step 3: Position the transfer
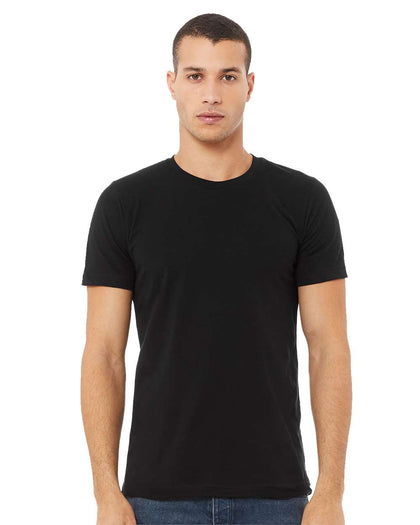
Place the transfer with the printed side facing down on the fabric, so you are looking at the clear film. For a standard adult front print, the top of the design usually sits about 3" to 4" below the collar. Not sure what size to use? Check our DTF size chart.
Step 4: Press
Close the press for 10-15 seconds.
Step 5: Peel
Let the transfer cool for about 10 seconds, then peel the film slowly and smoothly. If any part lifts with the film, lay it back down and press again for a few seconds.
Step 6: Finish press (optional)
Cover the design with parchment paper and press for another 5 seconds. This helps the ink settle into the fabric and gives a softer, more durable finish.
Aftercare
Wait 24 hours before the first wash. Then wash inside out in cold water and tumble dry low. Read the full DTF care instructions.
Having trouble?
Most problems come from too little pressure, uneven heat or peeling too early. See common DTF mistakes and how to fix them.
Ready to press? Build a DTF gang sheet and order by 3 PM CT for same-day shipping.


